How to upload your family tree to Findmypast
5-6 minute read
By The Findmypast Team | March 9, 2016
Adding your tree to Findmypast can knock down the brick walls in your family history and help you discover ancestors and records that you haven't been able to find elsewhere. That's because we have millions of records that aren't available on other websites, including parish baptisms, marriages and burials dating back to 1538 from record offices and archives around England and Wales.
We automatically send you matches with these records and the people on your tree, once you've added your tree to Findmypast.
If you've already created a tree on another website or in an offline family tree software package, but want to have it on Findmypast, you'll be pleased to hear that you don't have to start building it all again from scratch. You can simply export or download your existing tree and import or upload it to Findmypast.
Watch our short video, then follow the detailed instructions below:
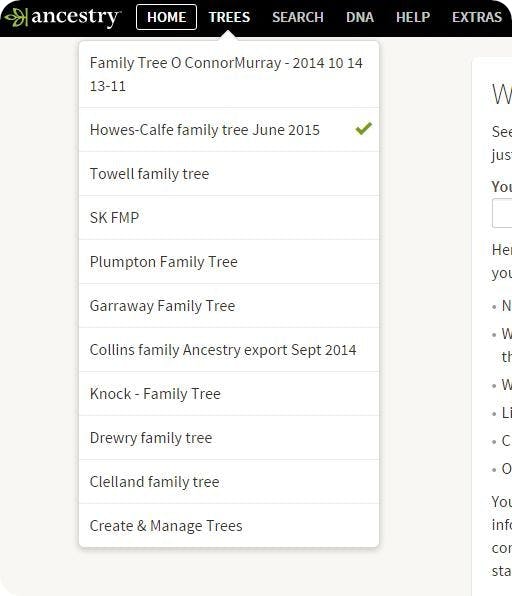
Sign in to your account on Ancestry. Click on the Trees tab at the top of the screen and then click on the tree you want to download in the drop down menu.
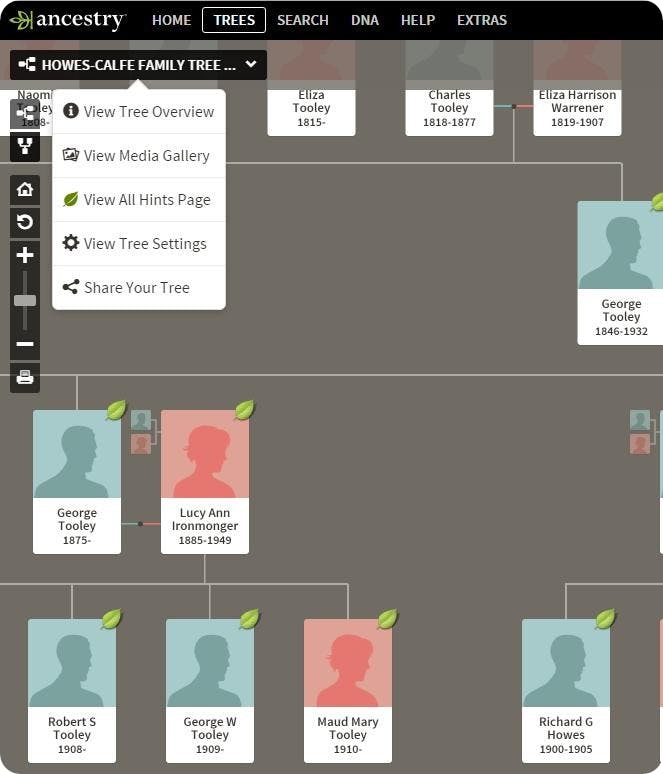
This opens your tree. Now click on the dropdown arrow at the top left of your tree and choose the View Tree Settings option.
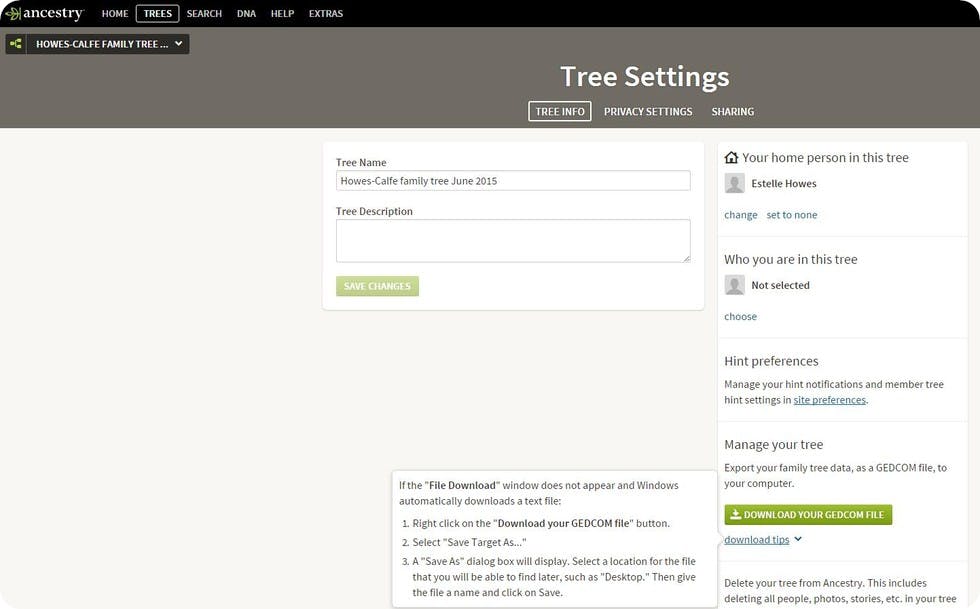
Now right click on the Download Your GEDCOM File button, then click on Save Target As and choose a location on your computer and a name for the file. Click save. Your tree file will then be saved to your computer, ready for you to import to Findmypast.
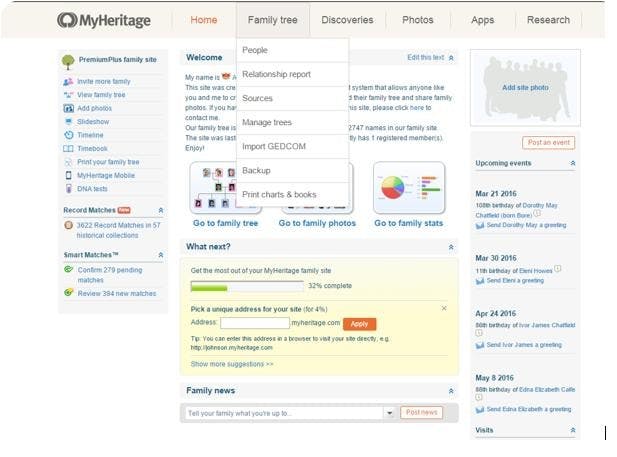
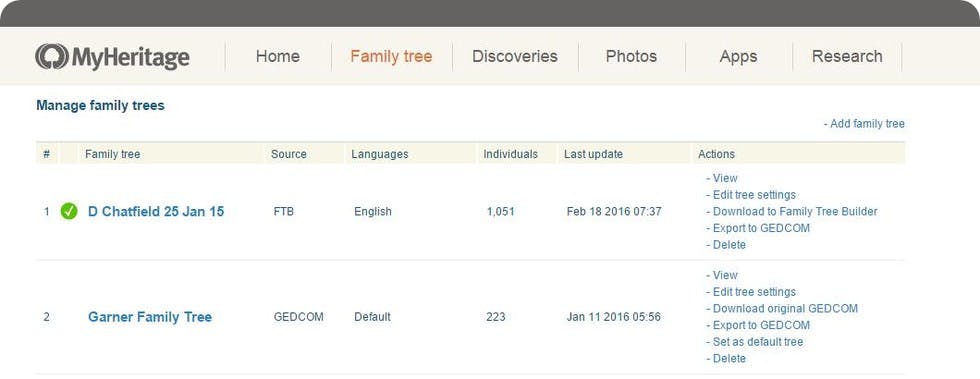
Sign in to your account on MyHeritage. Click on the Family tree tab at the top of the screen and then choose the Manage trees option in the drop down menu.
Decide which tree you want to export and click on the Export to GEDCOM option on the far right for that tree.
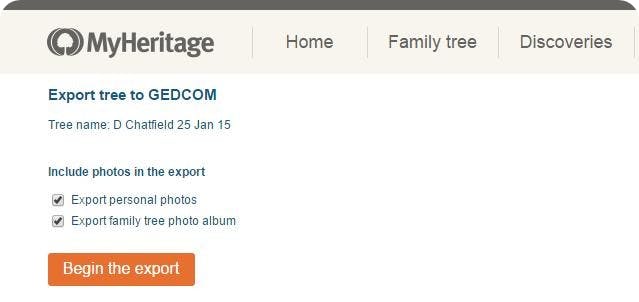
On the next screen, choose whether you want to export your photographs with your tree – if you tick these boxes, they will be added to your tree on Findmypast.
Then click the "Begin the export" button and you'll be sent a link to download your tree by email from MyHeritage. You can then save the tree file to your computer.
Click on the File menu and then choose the 'Export…' menu option. This will open the following window:
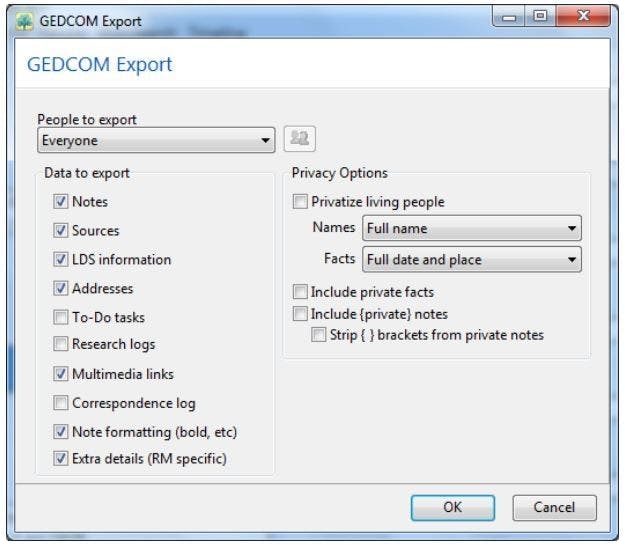
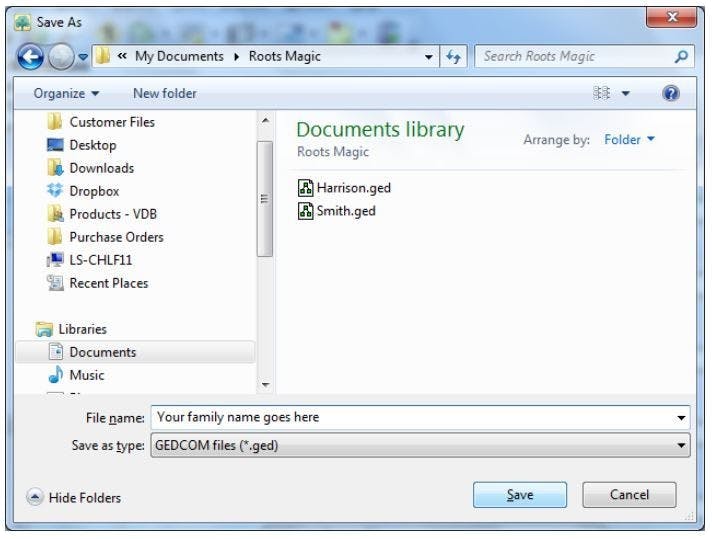
Consider which people you want to export and what information you wish to include in the GEDCOM file. You may wish to privatize living people. Choose 'OK' and another small window titled 'Save As' will open on screen. From here you can save the GEDCOM to your computer.
First, you'll need to register an account on Findmypast, if you haven't already done so, and sign in to your account.
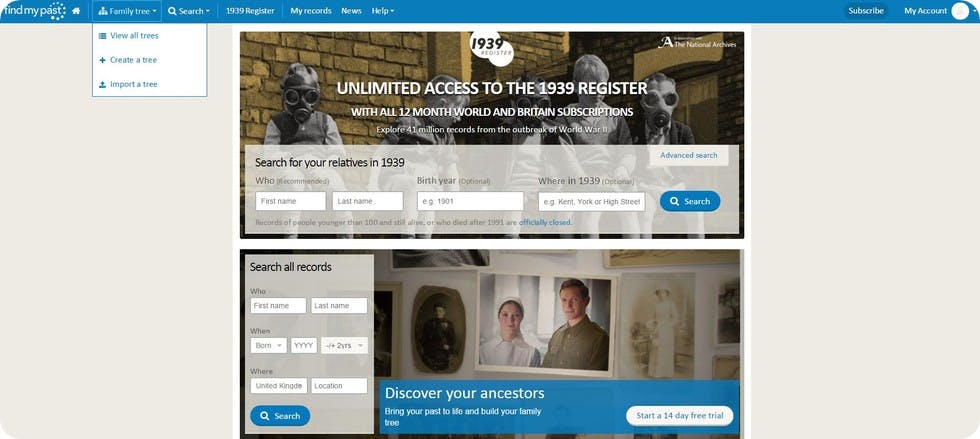
Then click on the Family tree tab at the top of the screen. Choose the Import a tree option in the drop down menu.
Click on the "Choose file" button.

This will open a new window allowing you to browse for files on your computer. Locate the tree file you previously downloaded from Ancestry or MyHeritage.

Click on the file you want to import and you'll see its title will appear next to the Choose file button.
Click the Upload button.

As your tree uploads to Findmypast, you'll see the number of relatives increasing as they're added to the site.

When the tree has finished uploading, you'll see a green "New" label appear alongside the tree name, and it will tell you how long it took to upload the tree and how many individuals are in the tree. In the example below, it took just 2 minutes and 32 seconds to upload a tree with 1,267 people!

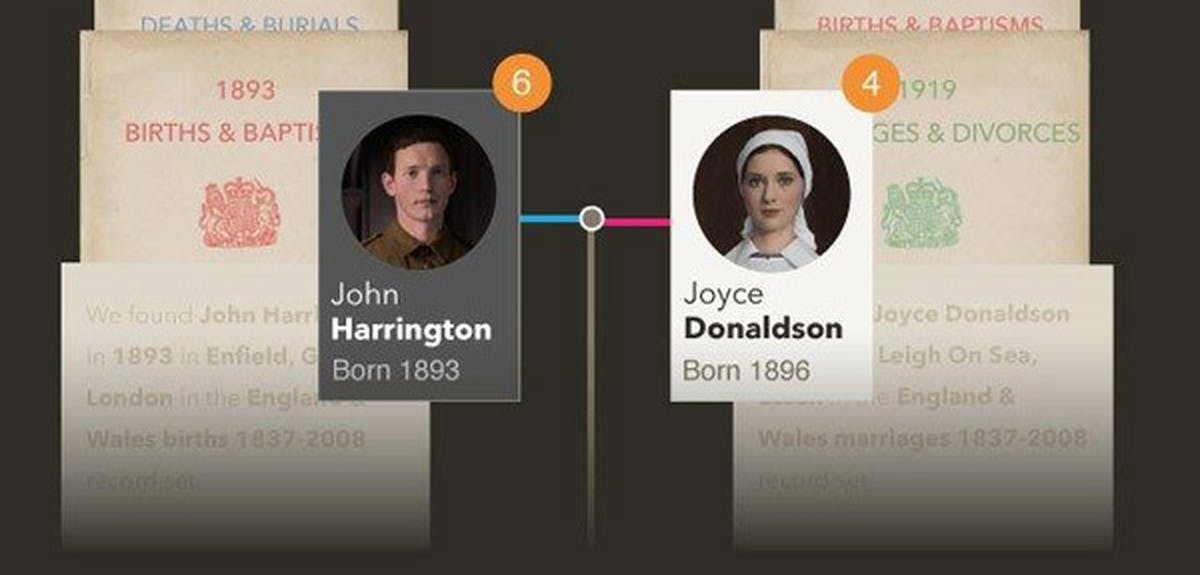
You can now click on the title of the tree to view your tree on Findmypast. The little orange circles next to people on your tree indicate the number of record matches we've found for each person. You can either click on each person on the tree to see their matches, or you can click on the My Hints orange button above the tree to see all the matches in one place.

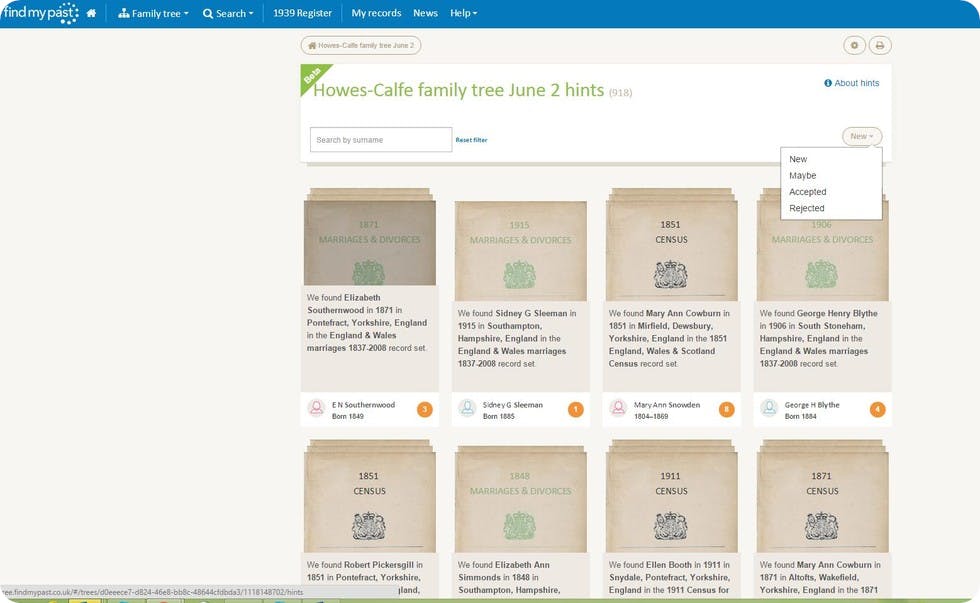
This is the Hints page – you can filter the hints to see the new ones, or you can search for all the hints for a particular surname in your tree.
